Hand wired mechanical keyboard
Sometime back in dark and cold december, looking to buy a keyboard with a split spacebar (left half backspace, right half space) I stumbled upon r/mechanicalkeyboards. I had to have one of those 60% keyboards, but spending 2000 sek on a keyboard isn’t really my thing. But spending the exact same amount of money on building one? Any day!
The parts took a great deal of time to arrive and I ordered a couple of things i shouldn’t have (look out for counterfeit Teensy boards). But I eventually could get around to actually building the thing.
Finished
 Side view.
 Insides, all hand-wired.
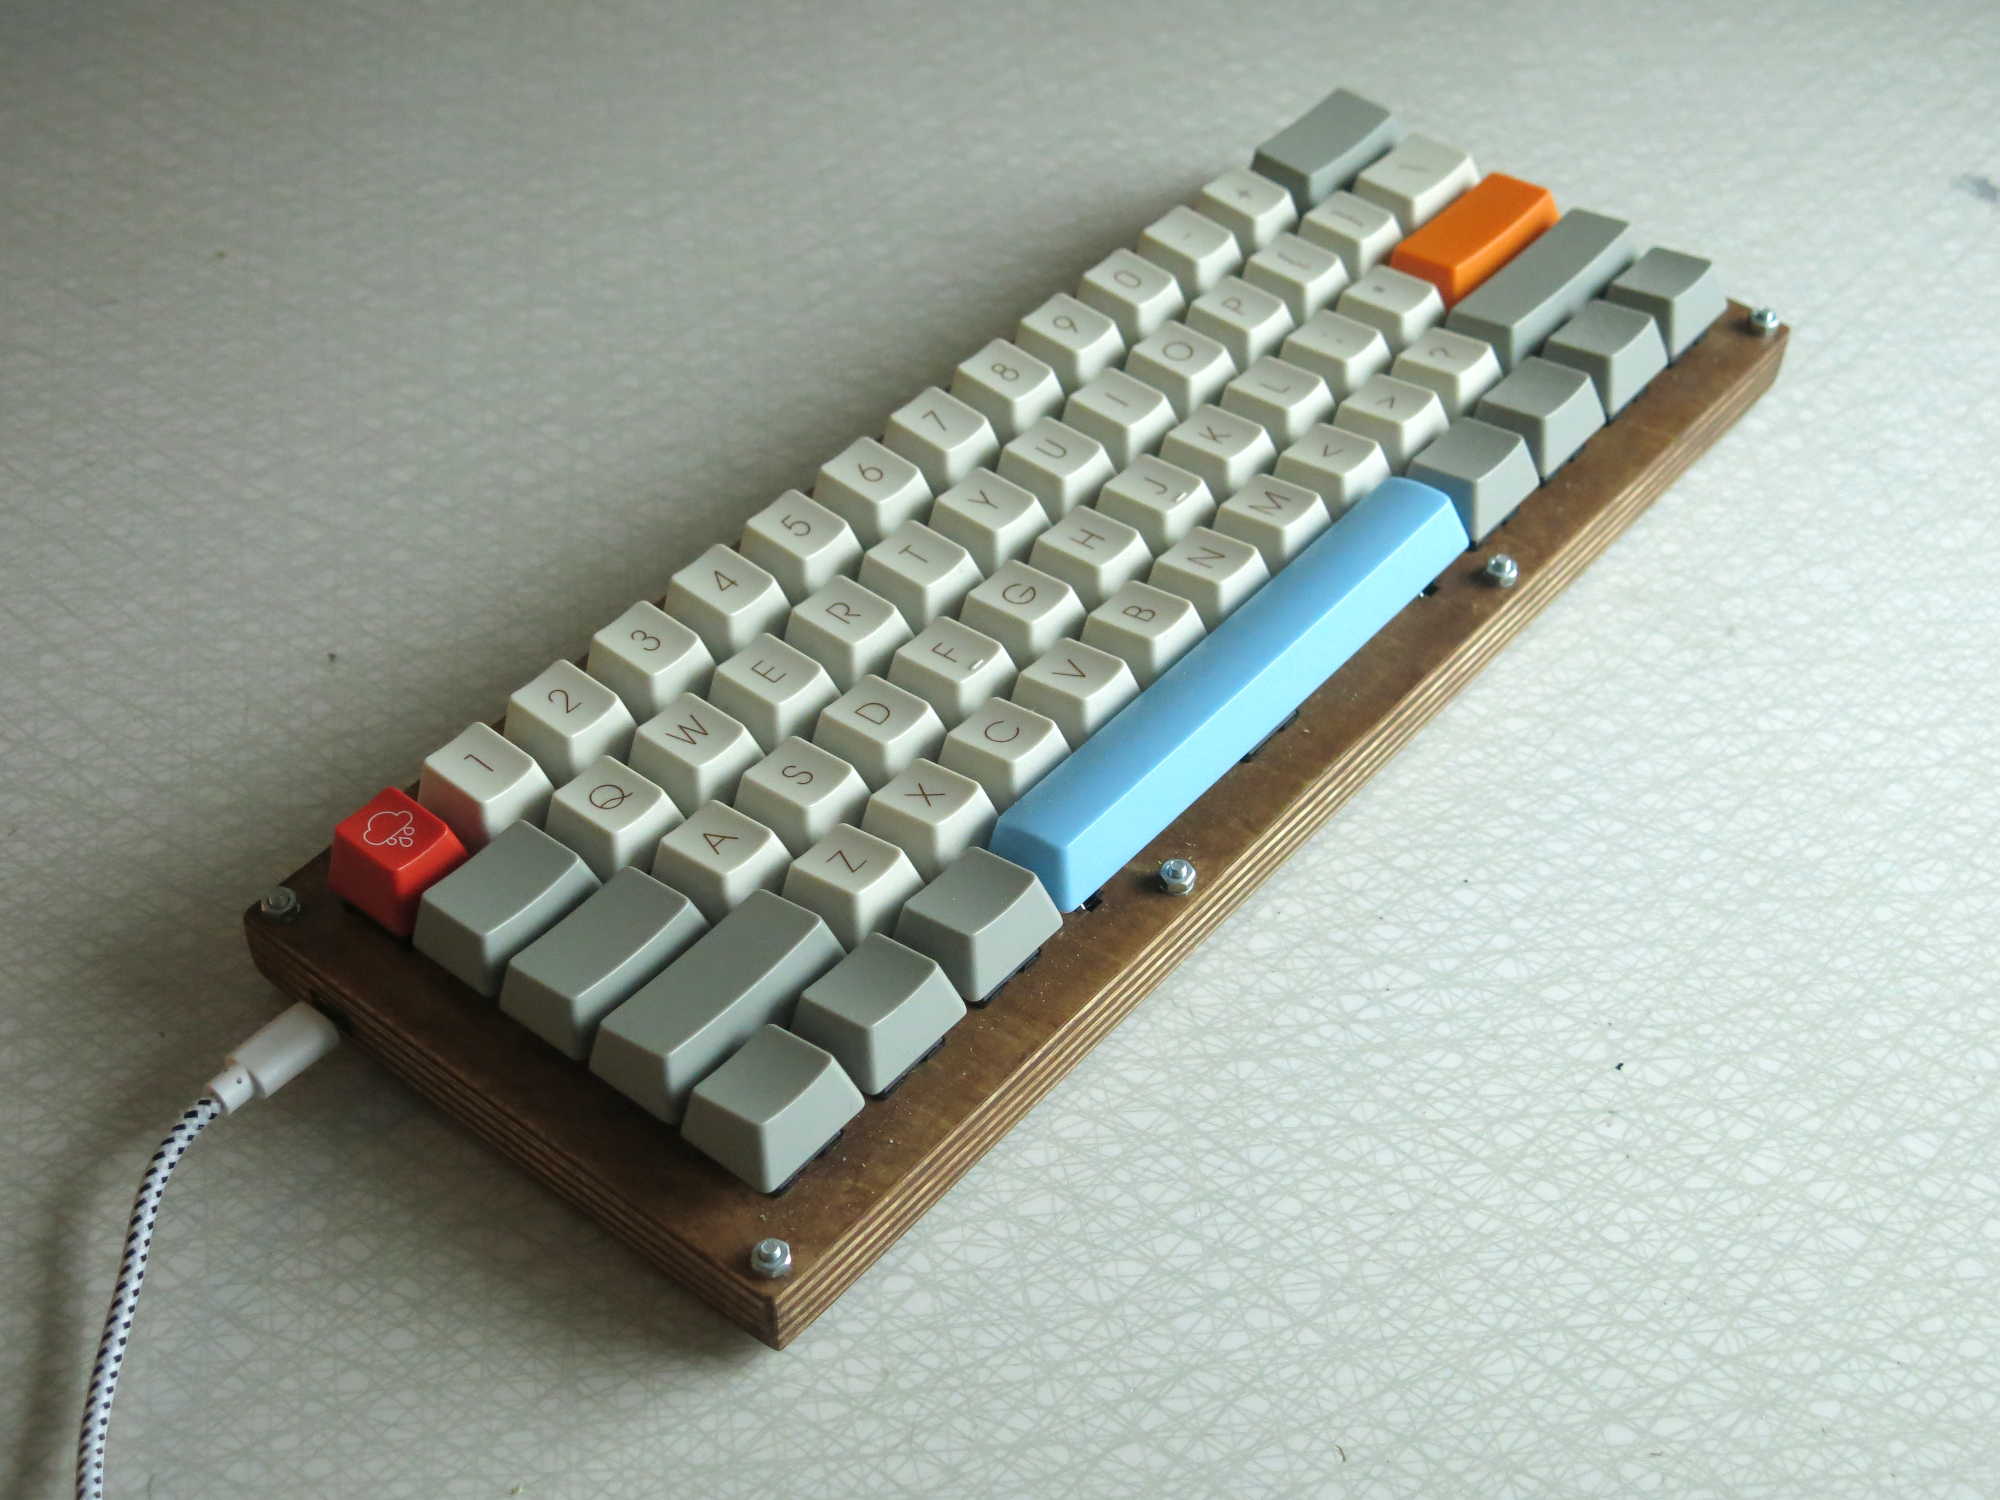
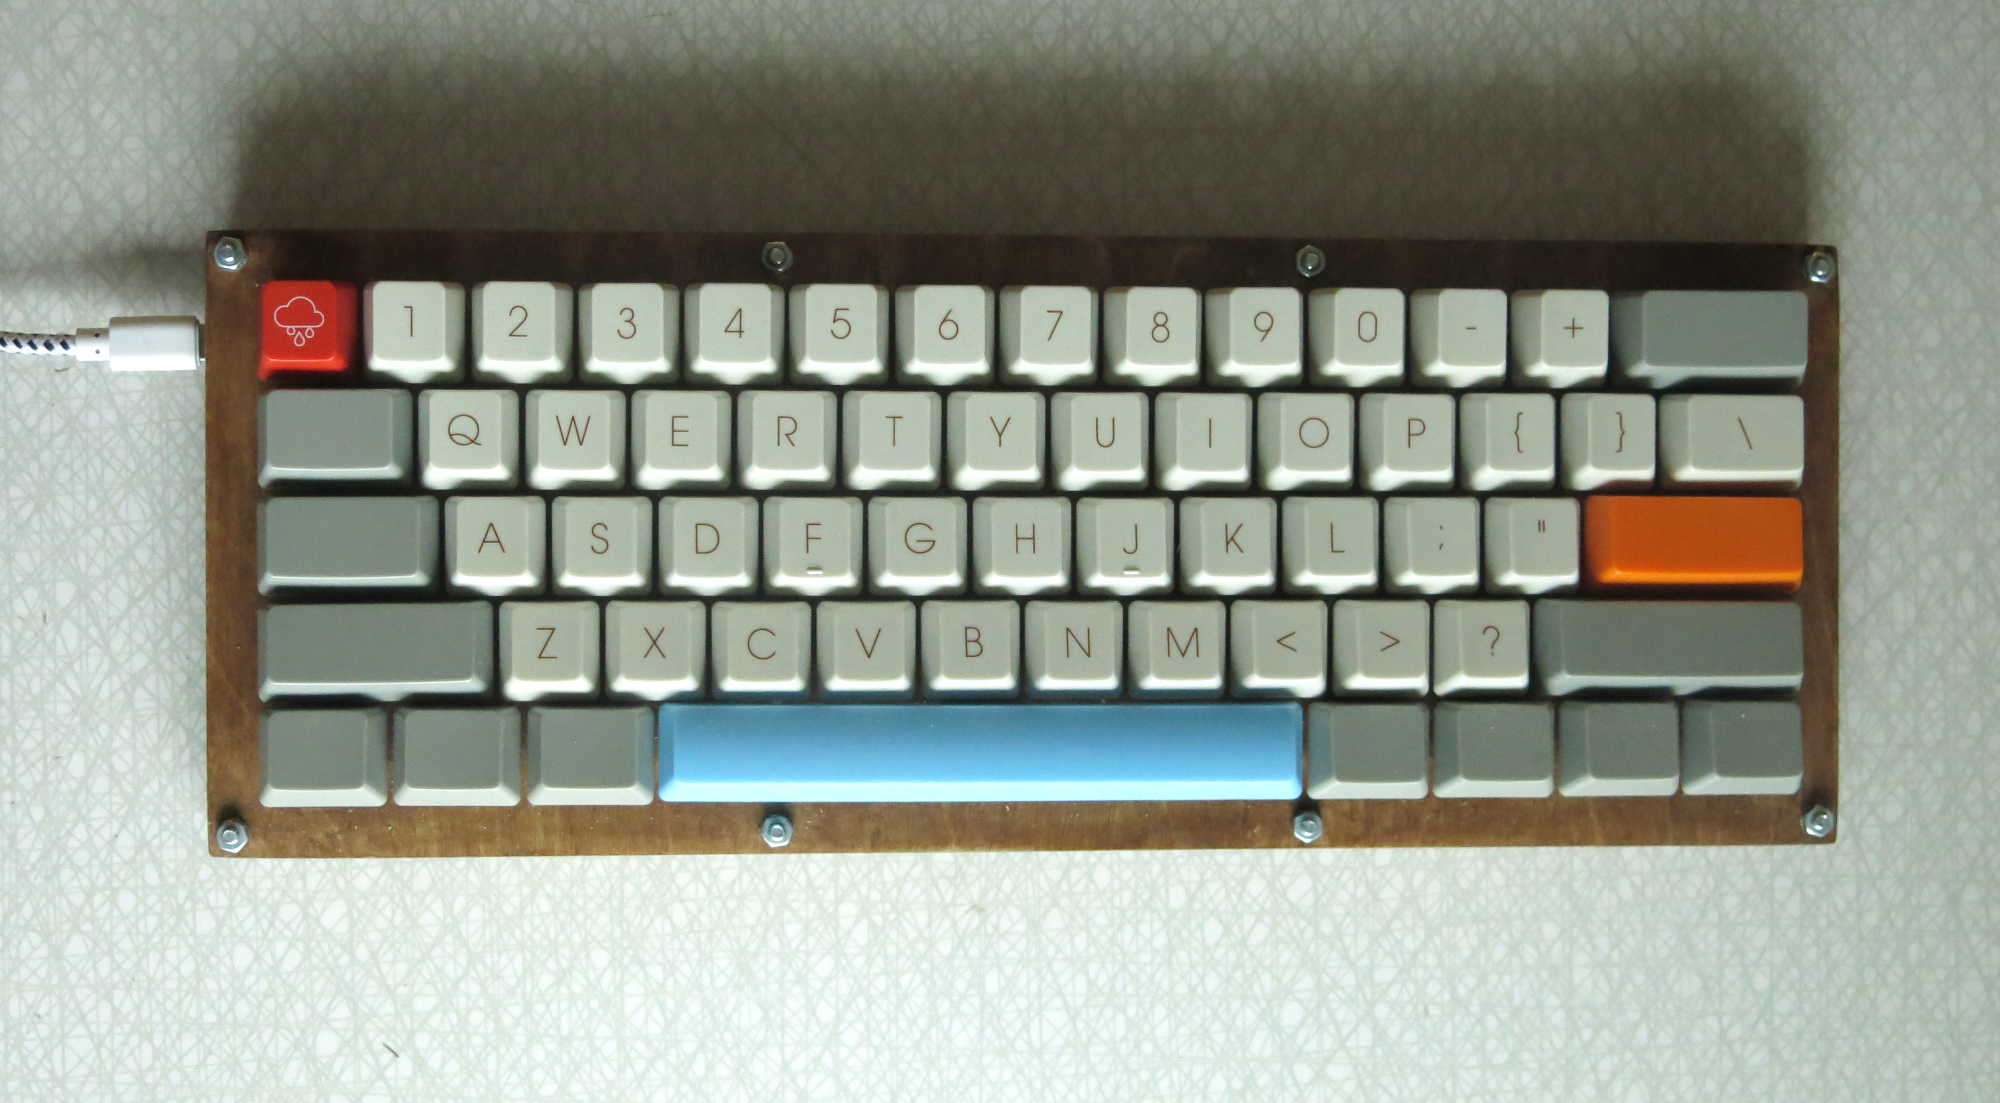 Top view, the keycaps are from WASD with a custom layout. They have an SVG template that you can just fill with your own characters in InkScape (the templates didn’t play well with Illustrator).
Resources
Hand wiring your own mechanical keyboard turned out to be one of those things that were’nt all that straight forward to find good information on. But there are some good tools, guides and build logs out there, half of them buried in 70 page forum threads. These are the reources that helped me the most:
matt3o - BrownFox step by step the wiring part of the build.
Stockholm Makerspace where I do my laser cutting (and many other things).
The output of the keyboard-layout-editor can be put into the Plate & Case Builder to generate .dxf files ready for laser cutting. Makes making the case super simple.
Warning
Since I used 3 mm plywood for the case, the regular cherry mx stabilizers didn’t work. Not the plate mount ones, not the PCB mount ones. If you build with a thick plate, you have to go with Costar stabilizers.
I ended up having to modify the plate mount ones I bought since I didn’t want to wait another several weeks to get the build done. It works, but the stabilizers are now glued to the space bar because they kept falling out. Not the ideal solution.
